Bread. The best thing to happen to humans, probably ever. Sandwich bread, rolls, baguettes, the almighty Olive Garden breadstick, bagels, pita… You name it, I love it! What I love about bread is the ability to do anything with it. Are you going to have a sandwich? Dip it in soup? Have it plain with some butter? Dress it up with cheese and garlic? Whatever you want, bread will provide, and with many textures and flavors to offer too. In my opinion, bread should be it’s own part of the food pyramid because it just goes so good with anything at any time of day. Anyway, these rolls are SO good. Like good to the point they should be illegal. We eat them with various dinners, but they’re also really good for sandwiches or dipping in soup, or even when they’re warm right out of the oven with just a little butter! I use my handy-dandy bread maker (that I absolutely love and use for everything I can possibly use it for, and recommend if you don’t already have one!) to do the messy part of this recipe, mixing the dough. I also let the dough rise in there. But don’t worry, if you don’t have a bread maker, I will tell you how to do the steps without it. This recipe is so delicious, I want to be sure everyone can make it! So let’s get to it!
Ingredients:
- 1 cup milk
- 2 tsp active dry yeast, or one 1/4-oz packet
- 2 eggs, room temperature
- 3 tbsp honey
- 1/3 cup butter, melted
- 1 1/2 tsp salt
- 4 cups flour

*Makes 12 rolls*
Directions:
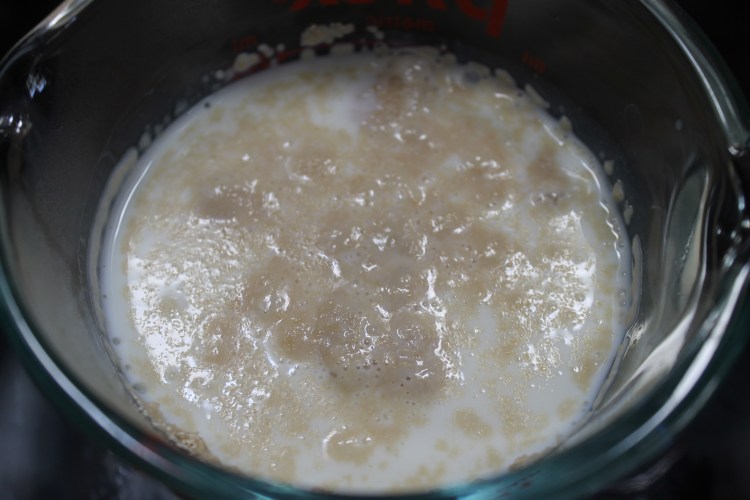
1. Heat the milk in the microwave for 1 minute. The milk ideally should be between 110℉-115℉. If you don’t have a cooking thermometer to verify this, after microwaving, you can stick a clean finger in the milk to test that it is warm. It should feel very warm, but not hot.
2. Next, add the yeast to the warm milk. Dump it in and give it one good stir to make sure it’s all in the milk, but don’t continue to stir it.
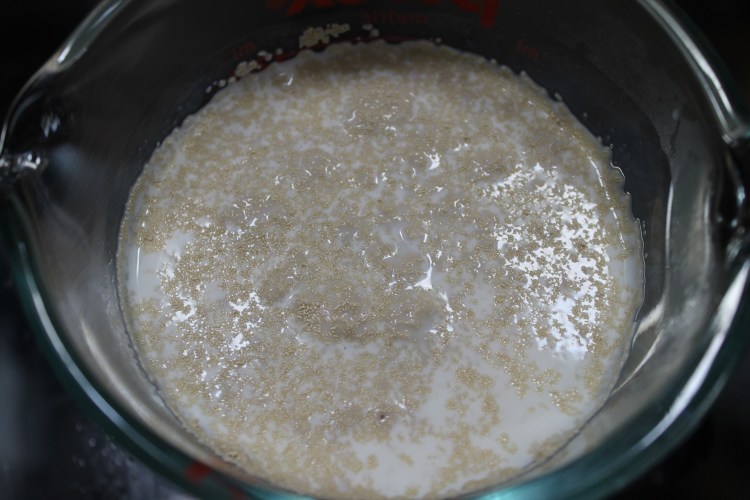
3. Let the milk and yeast mixture sit for 5-10 minutes. Be sure not to disturb it during this time. I like to leave it in the microwave, without turning it on, during this time so that it stays in a warm, moist environment to help the yeast activate. After the 5-10 minutes, the yeast should look a little foamy, as shown below. It may not look like a lot is going on with it, but as long as it is a little foamy, that means it’s working.
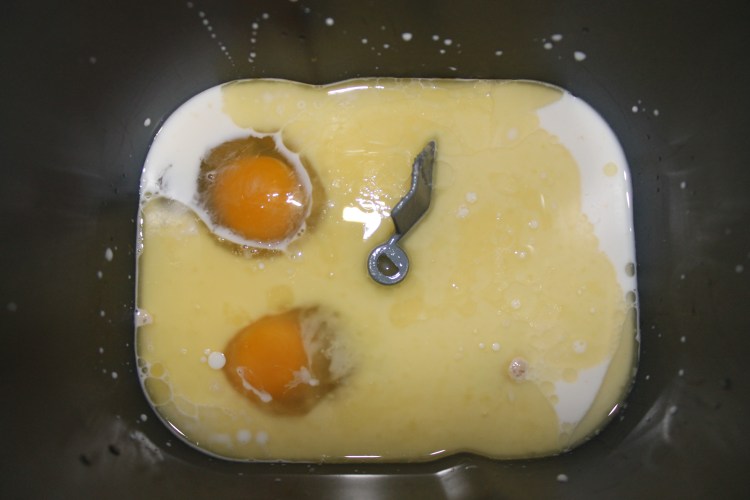
4. Pour the milk-yeast mixture into your mixing bowl. In my case, it is the pan for the bread maker with the mixing hook attached at the bottom.
5. Add your eggs and honey to the mixing bowl.
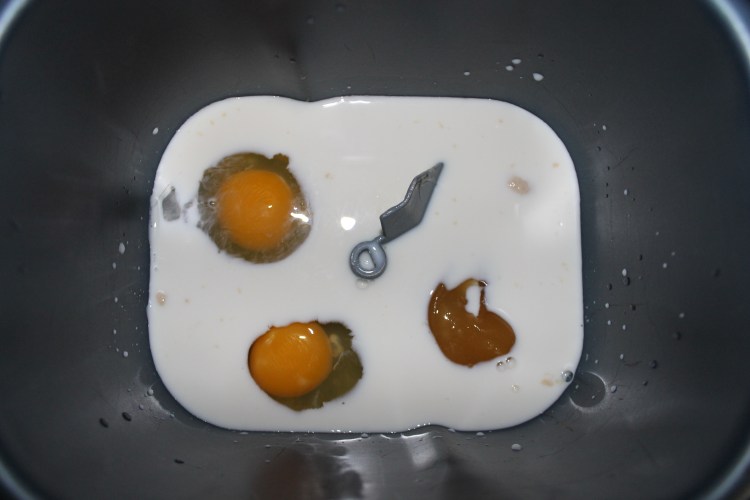
6. Add your melted butter and salt.
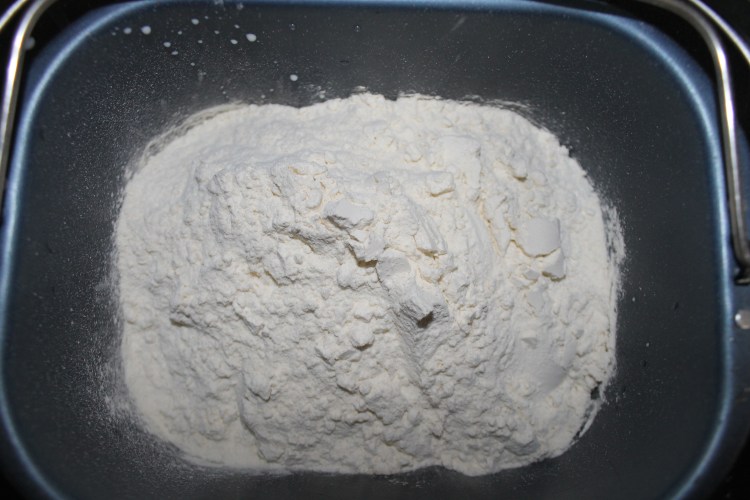
7. Lastly, add the flour.
8. If you are using a bread maker, set it to the “dough” setting and let it get to work. If you do not have a bread maker, you can mix all of the ingredients with a regular mixer with the bread hook attachment. If you do not have a mixer with a bread hook or a bread maker, you can definitely mix all of these ingredients by hand.
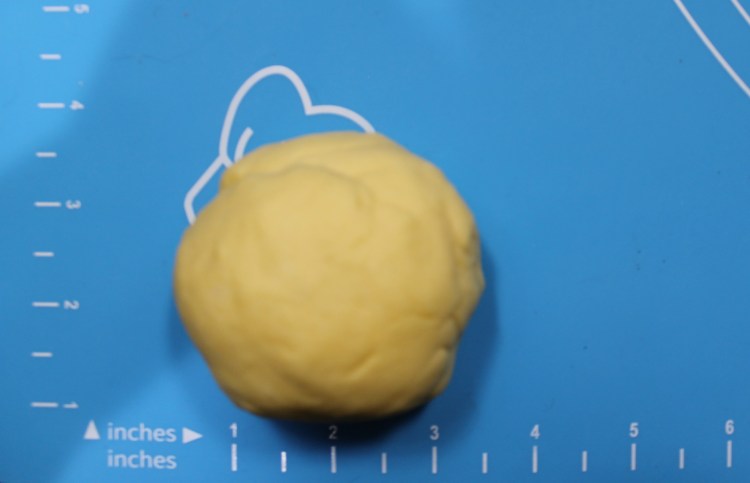
9. Bread maker, mixer, or by hand, be sure to be scraping the bowl as you mix the dough so that every piece of the ingredients are added in. When the dough has formed a solid ball, IF it seems a bit dry (which mine did, see below), you can add a 1/2 tbsp of water and continue mixing (picture 2). Alternately, if the dough seems too sticky, you can add 1 tbsp of flour.
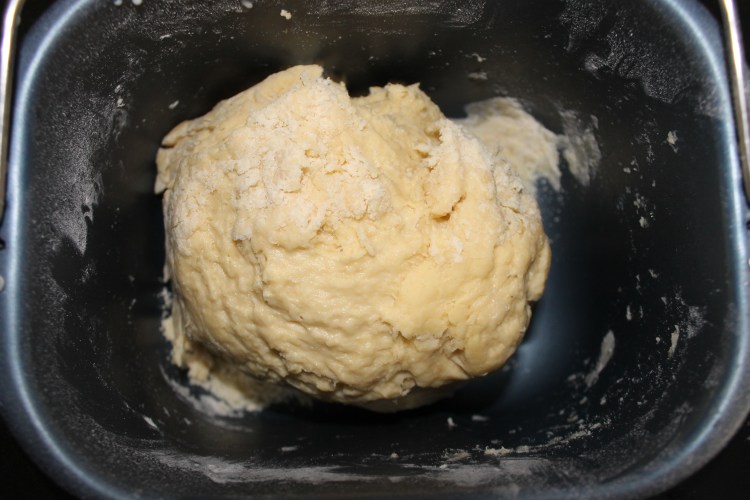
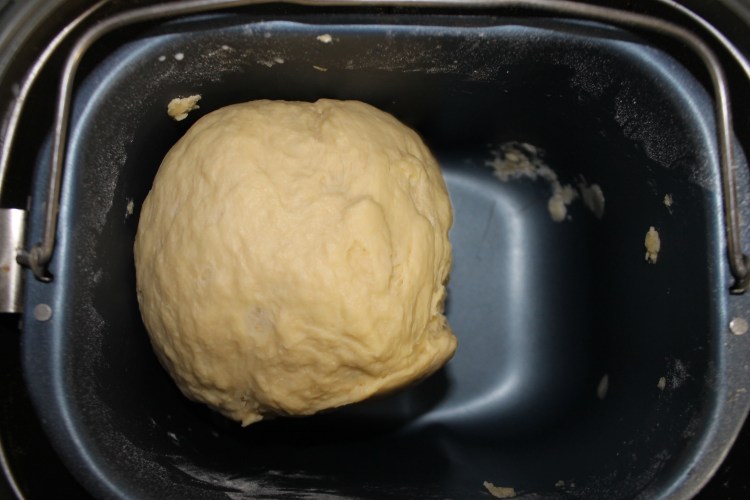
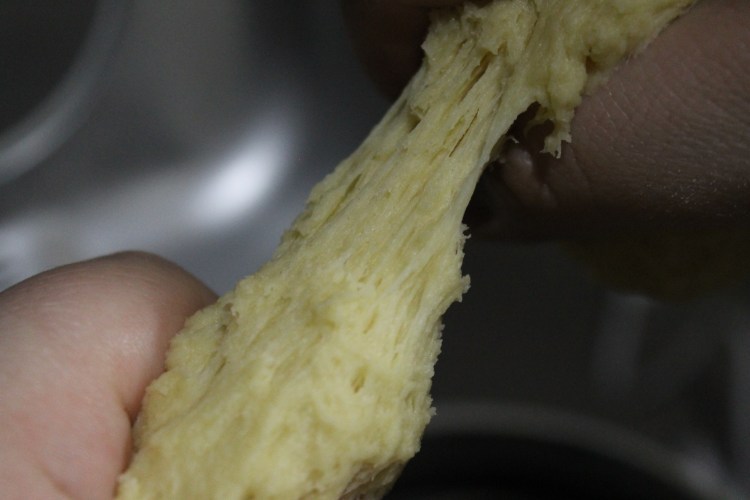
10. You will know the dough is done being mixed/kneaded by hand, when it is in one smooth ball. It won’t be too dry or too sticky, and all of the ingredients will be mixed in well.
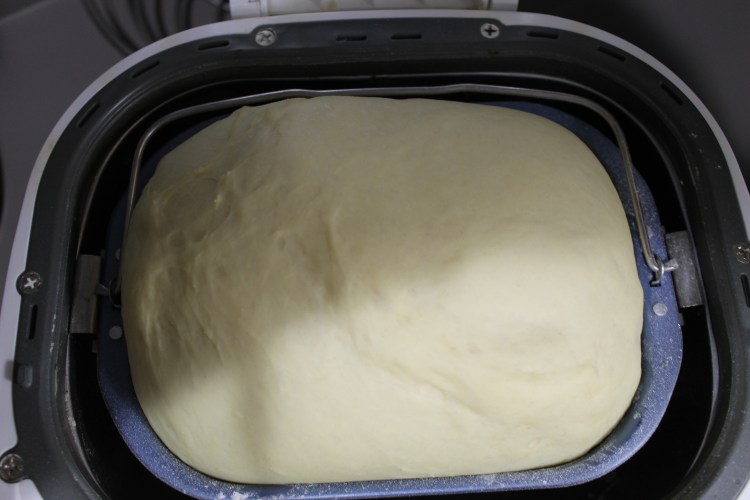
11. Next is to let the dough rise for 1 hour or until doubled in size. I allow the dough to rise in the bread maker. If you don’t have one, place your dough ball in a greased bowl and cover with a damp towel. If your house is a bit cold, you can let the dough rise in the microwave like you did with the yeast. Just be sure not to turn it on.
12. Get a large baking sheet and spray it with cooking spray.
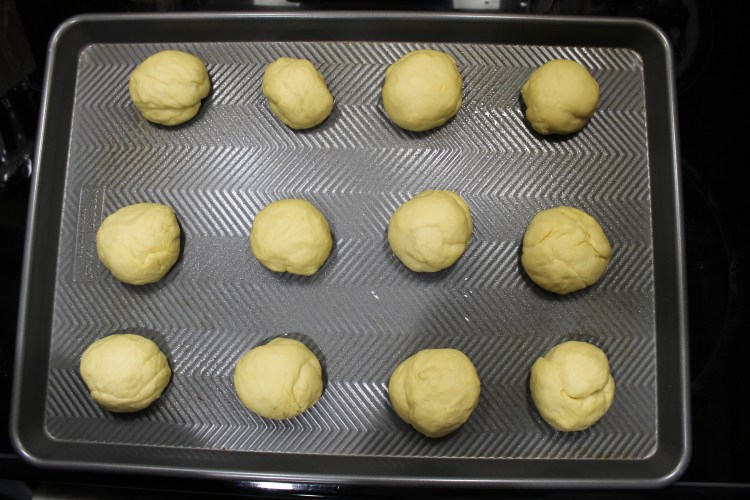
13. Next, you’ll want to grab a handful of dough and pull it apart from the rest of the dough. Roll it in your hands until you have a nice ball shape. The ball should be about 3 inches wide. Place the balls on the greased baking sheet, about 2 inches apart. Keep going until you have used all of the dough. You should get about 12 dough balls.
14. Let the rolls rise in a warm place for 2 hours with a warm, damp towel over them. My house is pretty cold this time of year, so I have a hard time getting things to rise just out on the counter. So, I get a big bowl full of water as hot as I can get from the tap and place it on the bottom rack in the oven. Then I place the tray of dough balls, uncovered, on the rack above it and let them rise in the oven that way. I don’t turn the oven on because the ideal temperature for rising the rolls is 75℉ and the oven doesn’t go that low. But, I have found that with the bowl of hot water in there and leaving the door closed, the inside of the oven will be about that temperature. So if your house is not around 75℉, I would recommend doing this trick of the hot water in the oven.
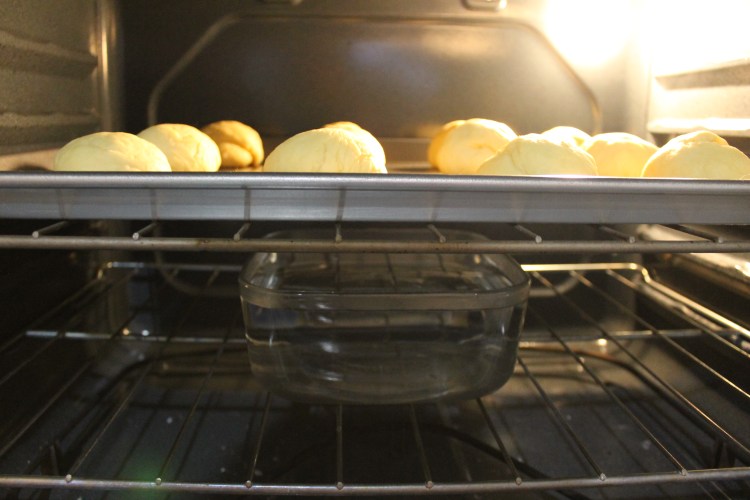
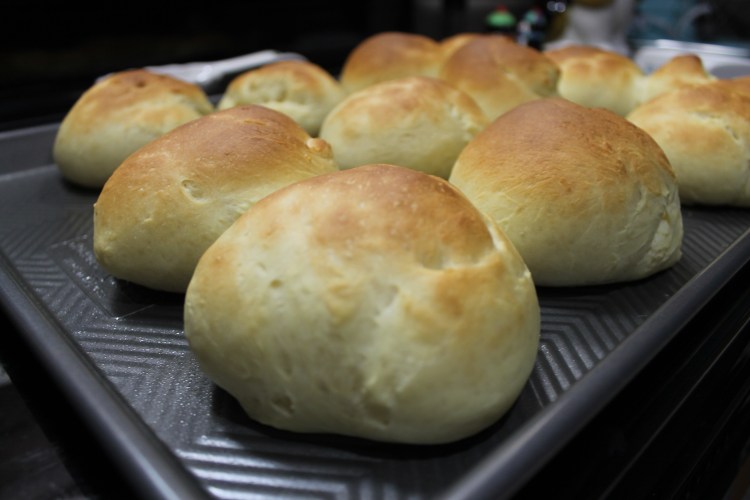
15. After letting the rolls rise for 2 hours, they should be doubled or even tripled in size. Uncover the rolls and place in the oven on the middle rack. If using the hot water bowl trick, remove the water, and leave the tray of rolls in the oven.
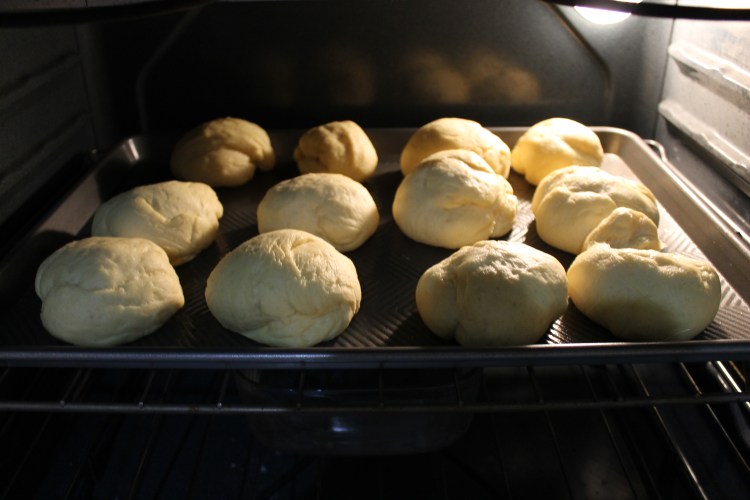
16. Set the oven to 375℉, leaving the rolls in the oven as it heats up.
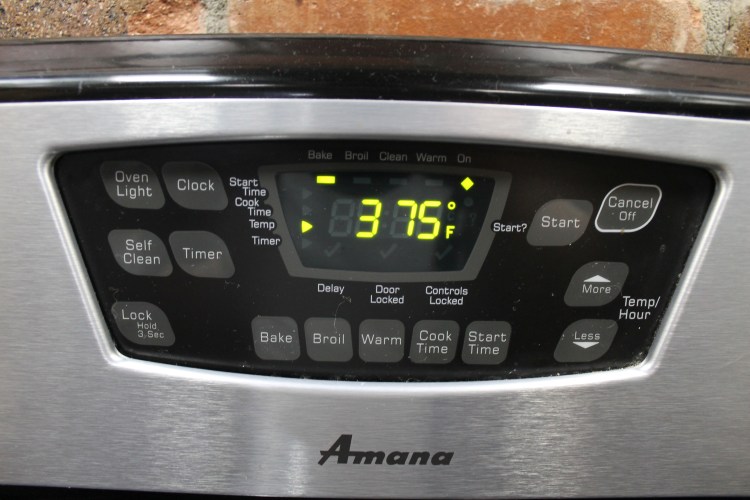
17. While the oven reaches 375℉, you should notice the rolls have already begun to bake and get bigger. Once the oven is at 375℉, leave them in the oven for only 3 minutes or until they are golden brown on top, which shouldn’t take long since they have already begun baking while the oven preheated.
18. After the rolls are golden brown, remove them from the oven and let them cool on the baking sheet.
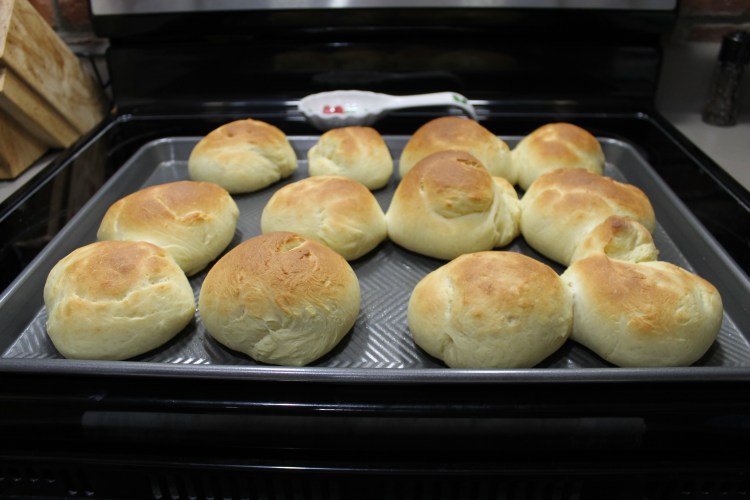
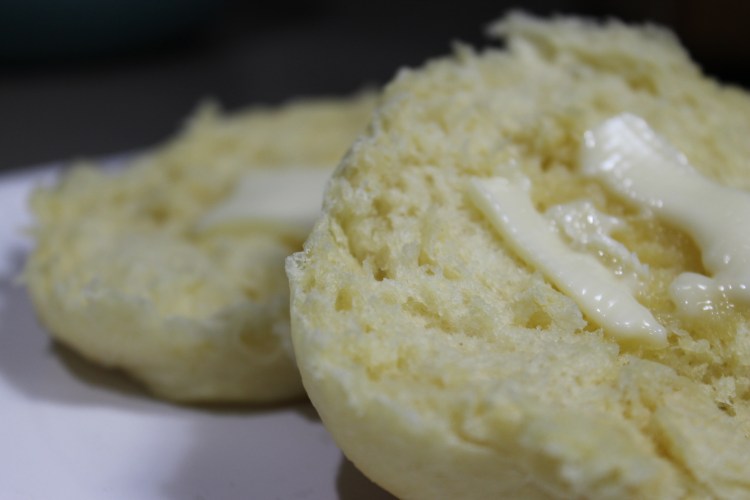
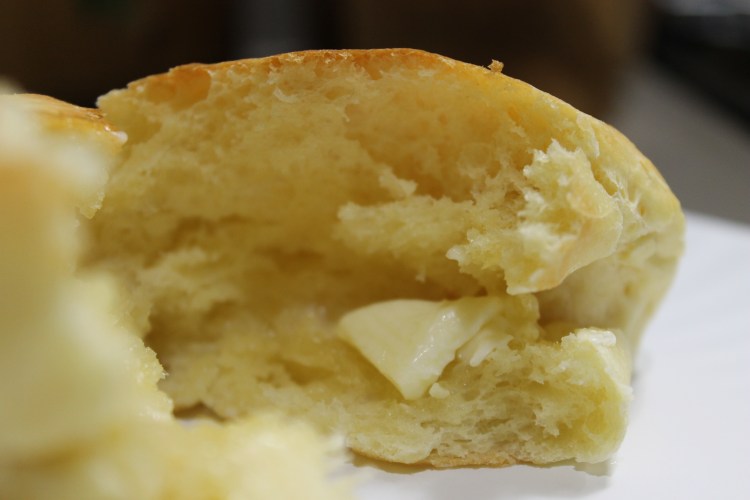
19. Serve them warm, or when completely cooled, store them in an airtight container or ziploc bag for up to a week. And enjoy them with any and every meal! 😊👍