
Valentine’s Day is just a few days away! Whether you are spending it with a special someone, a couple of friends, or even just treating yourself, this cake is just the right size! I’m a sucker for red velvet cake, and pretty much anything involving cream cheese. Sometimes a full size cake or a ton of cupcakes is just too much for two people, or even a small group of three or four, but we shouldn’t let that stop us from having a special treat for Valentine’s Day or any day when a delicious, perfectly moist red velvet cake is necessary… a.k.a ANY DAY. Anyway, I decided to make this recipe for this mini cake so that it can be enjoyed by two, a few, or just you, without having an excessive amount of cake taunting you all weekend! Full disclosure, I am NOT a talented cake decorator, though I have been practicing! But what this cake lacks in style, it makes up in deliciousness!
Ingredients:
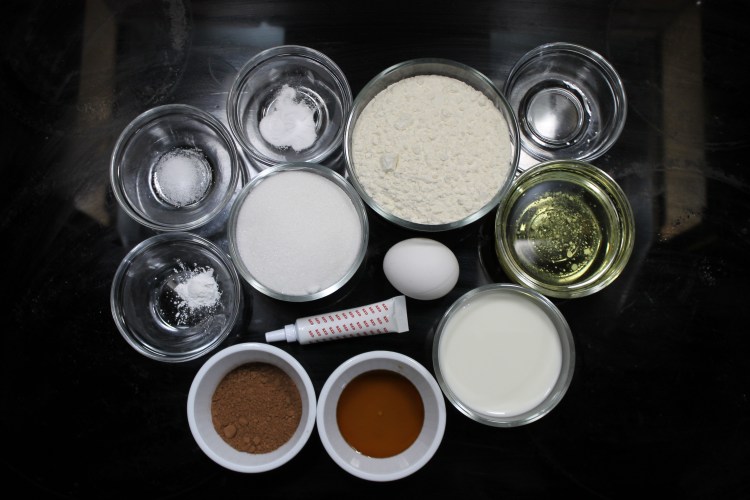
Cake:
- 1 1/3 cups flour, + 3 tsp
- 4 tsp unsweetened cocoa powder
- 1/2 tsp baking soda
- 1/4 tsp baking powder
- 1/4 tsp salt
- 3/4 sugar
- 1 egg
- 3/4 cup oil
- 1 tsp vanilla
- 1/2 cup buttermilk
- 1/2 tsp vinegar
- red food coloring
- 1 tbsp butter, softened
*Note* If you don’t have buttermilk on hand, you can add 1 tsp of lemon juice or vinegar to a half cup of milk, stir, and let it sit for 5 minutes or so, until it has thickened up!
Frosting:
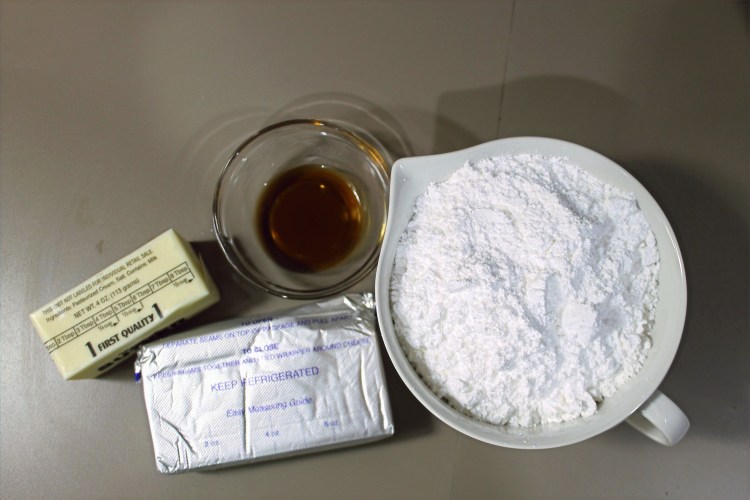
- 1 8-oz package of cream cheese, room temperature
- 1/2 cup of butter, softened
- 2 tsp vanilla
- 2 1/4 cup powdered sugar
Directions:
Cake:
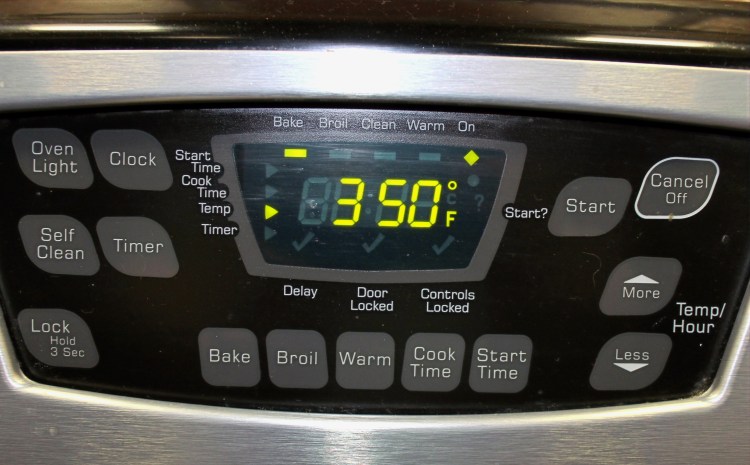
1. Preheat your oven to 350℉
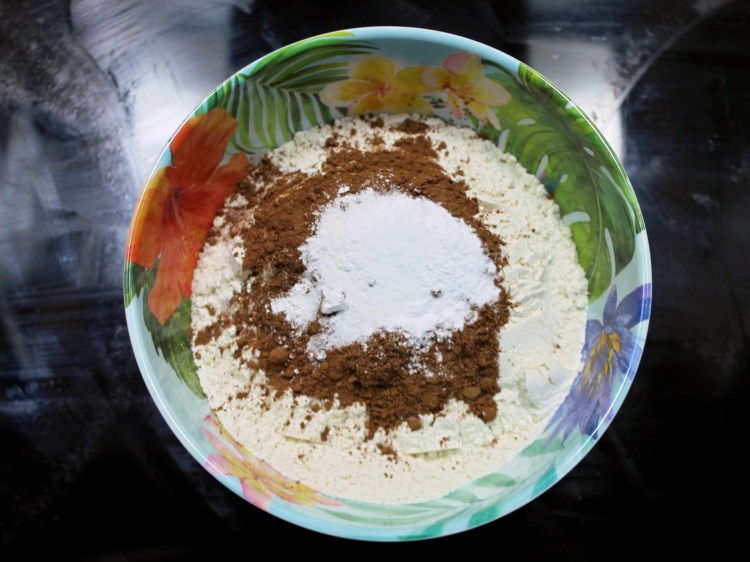
2. Stir together the 1 1/3 cups of flour, the cocoa powder, baking soda, baking powder, and salt in a small bowl.
3. In a medium mixing bowl, beat together the sugar, egg, and oil until it is fluffy and well combined.
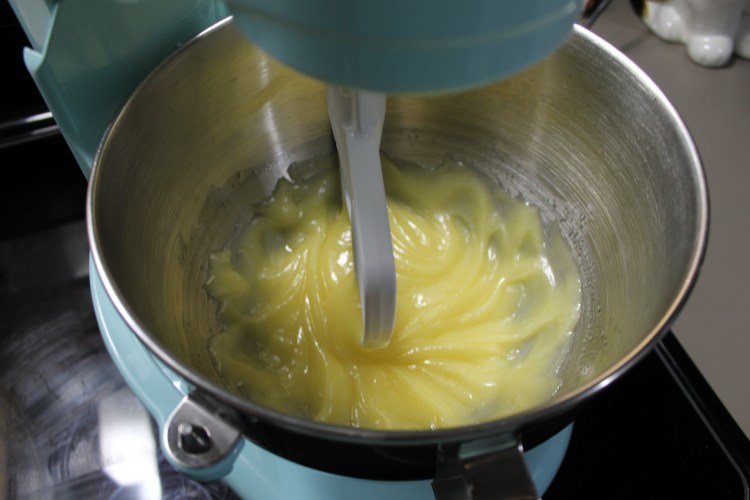
4. Add the vanilla to the mixing bowl and beat it into the sugar mixture.

5. Add about 1 tsp of red food coloring to the bowl and mix. Keep adding food coloring until you get your desired color. Keep in mind that once you add the flour mixture, the batter will darken some.

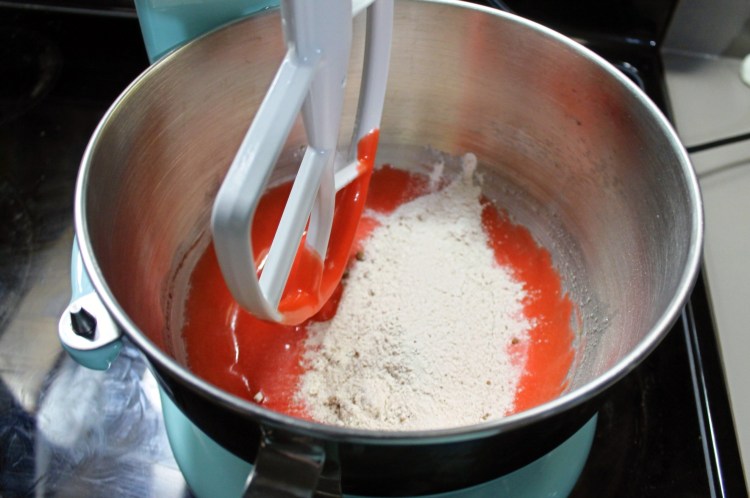
6. Add half of the flour mixture into the mixing bowl. Mix well.
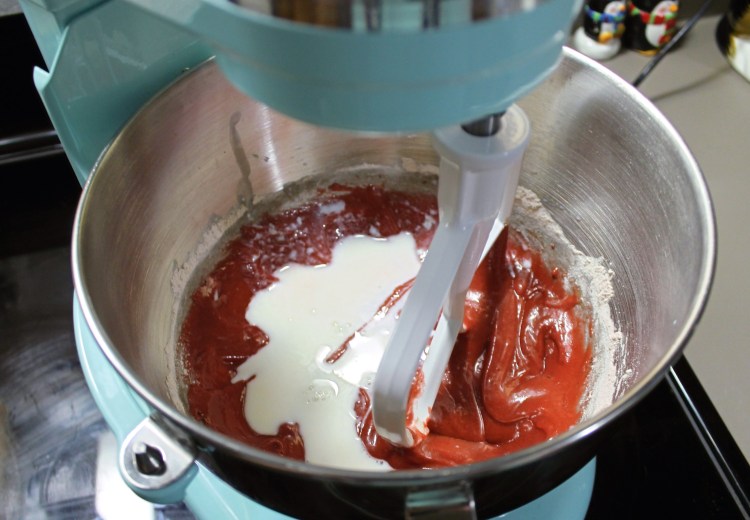
7. Pour in half of the buttermilk and mix.
8. Mix in the remaining flour mixture, and then the remaining buttermilk. Be sure to be scraping the edges of the bowl with a rubber spatula throughout this process, to ensure all of the ingredients get incorporated into the batter.

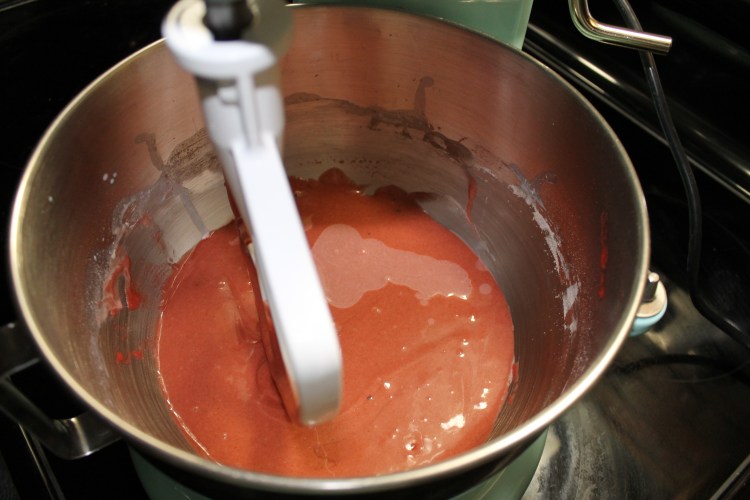
9. Lastly we’re going to add in our vinegar. Mix everything until it is smooth and well combined.
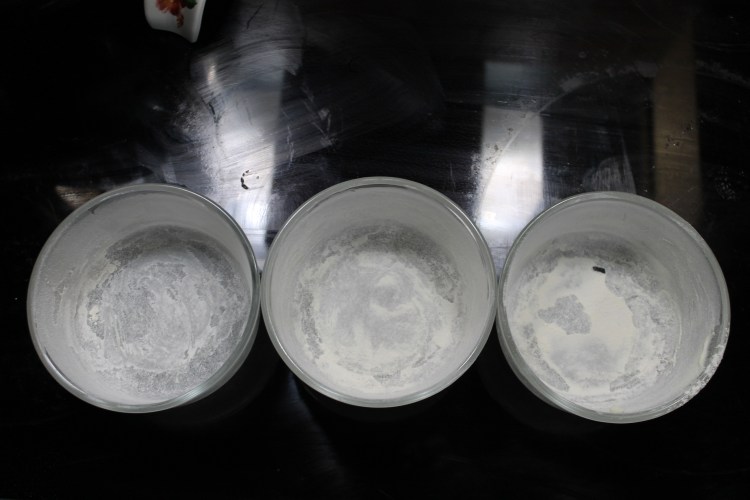
10. To bake the cakes, I used three 4-inch wide oven-safe glass dishes. They are about 3 inches deep. If you have small cake pans, those would work too. Or pretty much any similar sized pan, dish, or bowl that is oven safe.

11. Butter all three dishes with the 1 tbsp of softened butter. Be sure to get the bottom and the edges of your dish.
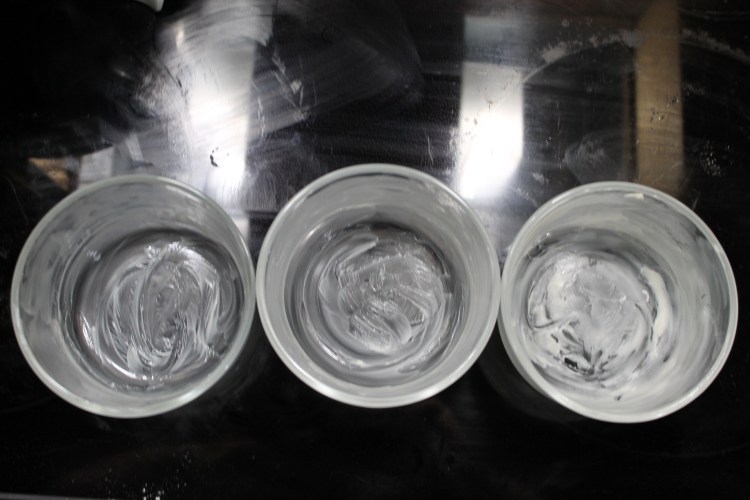
12. Add 1 tsp of flour to each buttered dish and then roll and shake it around until the entire inside is coated in flour. Tap the excess out when it is completely coated.
13. Pour your red velvet cake batter evenly into each dish, about half way full.

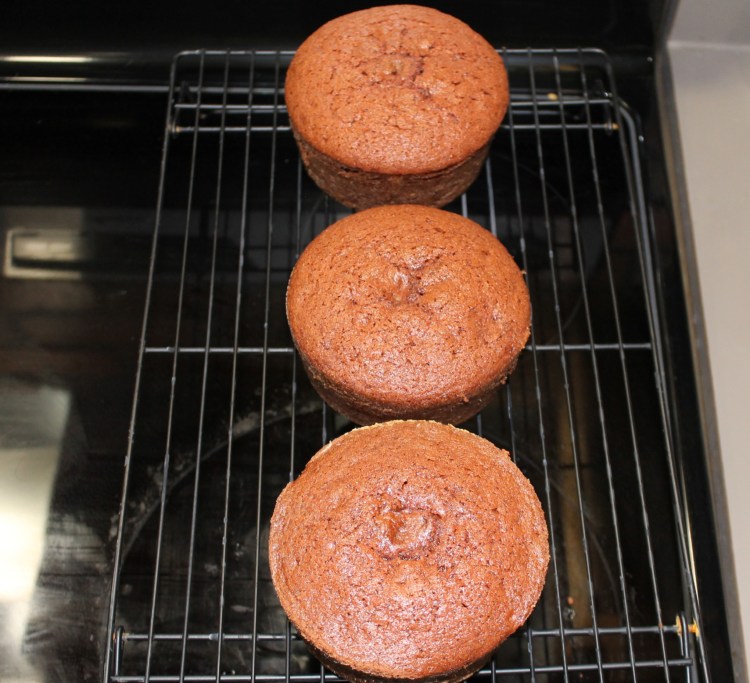
14. Put the dishes on a baking sheet so it’s easier to take them out of the oven later. Bake for about 40 minutes, or until a toothpick comes out clean.

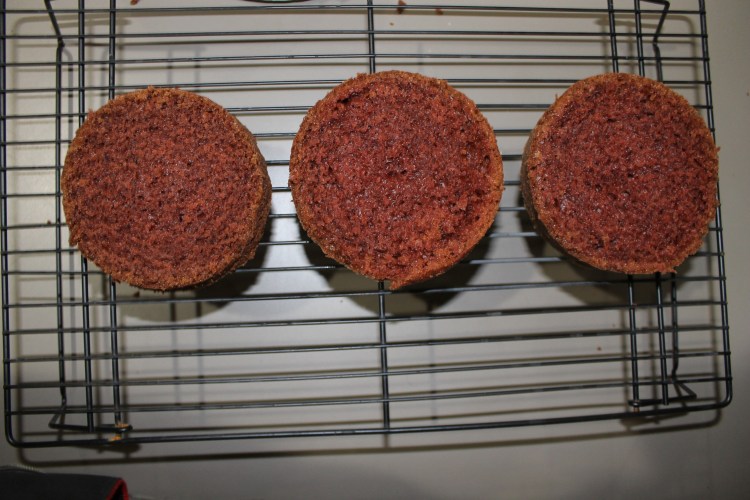
15. Remove the cakes from the oven, let cool about 5 minutes, and then turn them out onto a cooling rack. Be sure the cakes are completely cooled before frosting, or your frosting will melt!
Frosting:
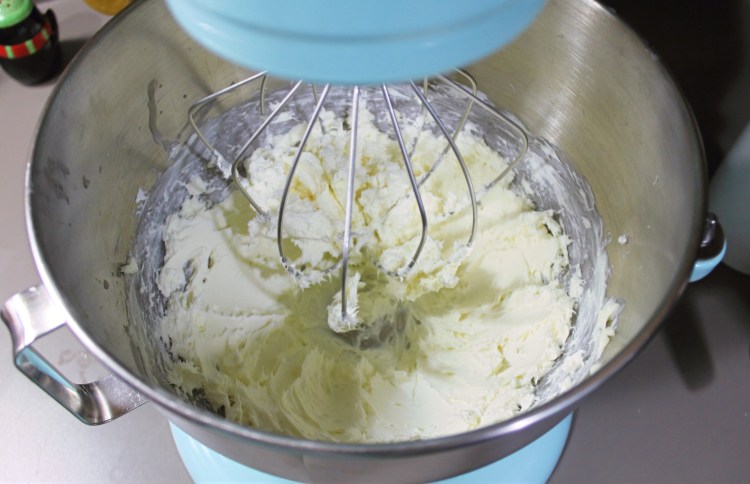
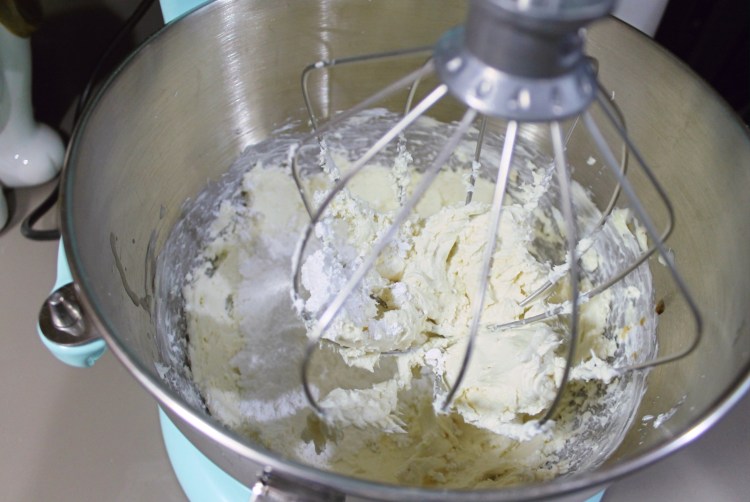
1. Beat the room temperature cream cheese and the softened butter together in a mixing bowl until it is fluffy. I used the whisk attachment on my stand mixer, but if you don’t have this, a handheld mixer on medium should do the trick!
2. Add the vanilla and continue beating it together.
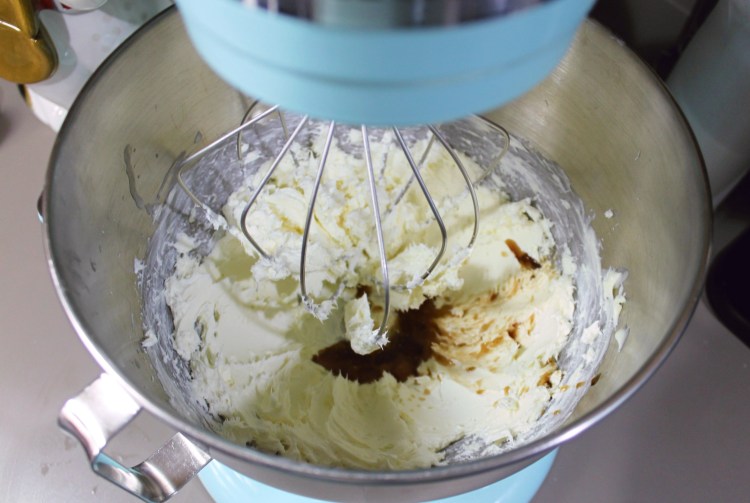
3. When the ‘wet’ ingredients are mixed well and fluffy, start adding the powdered sugar a little at a time. Continue mixing and adding in the sugar until all of it is added in. If the frosting seems a bit dry, you can add in a splash of milk or heavy cream and mix it until fluffy again.

Assembly:
As I said before, I am not a great cake decorator. So you definitely don’t have to assemble your cake the way I did in order for it to taste good! If you want to make it a fun activity with your galentines or your hunny, let everyone decorate their own cake. Or maybe you ARE a master decorator and want to make it up real cute for your guests. Either way, you can decorate the cake whatever way makes your heart sing, it is Valentine’s day after all! If you want to see how I decorated my cake, these are the steps:
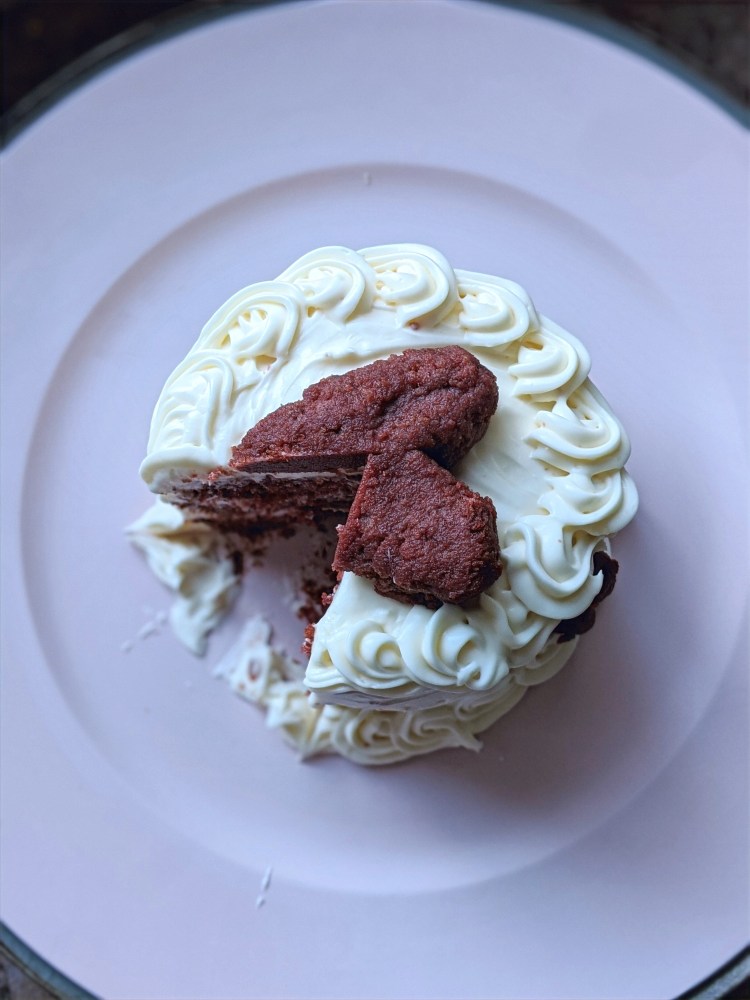
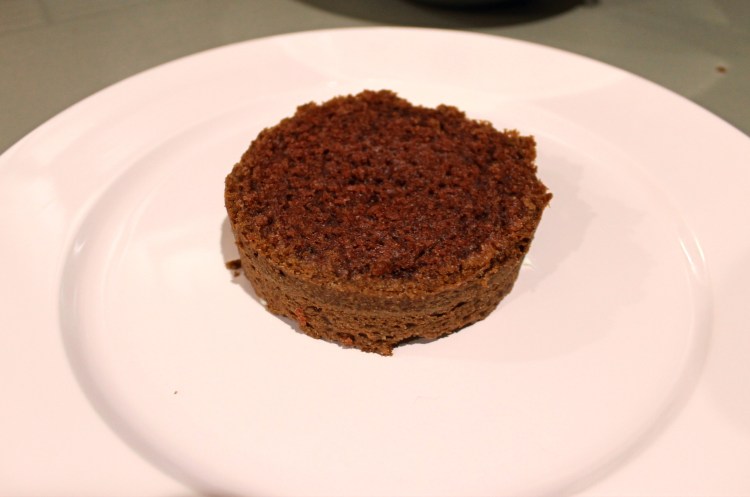
1. Cut the tops off (and bottoms in my case because the bottoms of my glass dishes are rounded) the cakes so that they will stack flat and even. Save these cut off tops and bottoms for later!
2. Smear a little bit of frosting on your cake plate to hold the cake on. Then place your base layer onto the frosting smear on the plate.
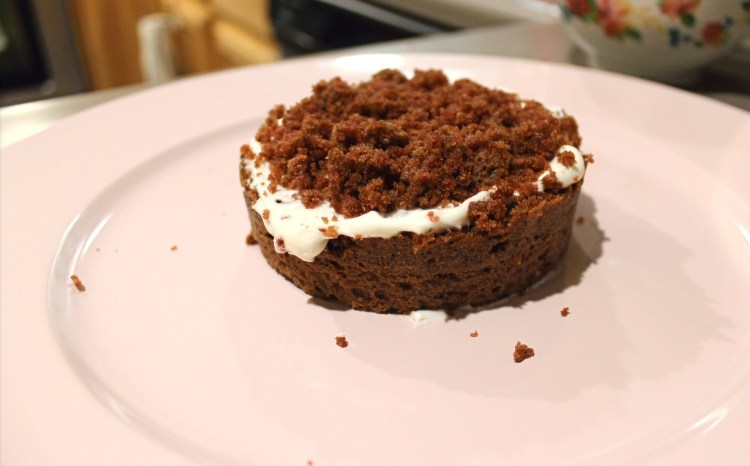
3. Plop a dollop of cream cheese frosting on top of your base layer. Spread around evenly.
4. Crumble up the leftover tops and bottoms in a bowl and sprinkle some of these crumbles onto your cream cheese frosting.
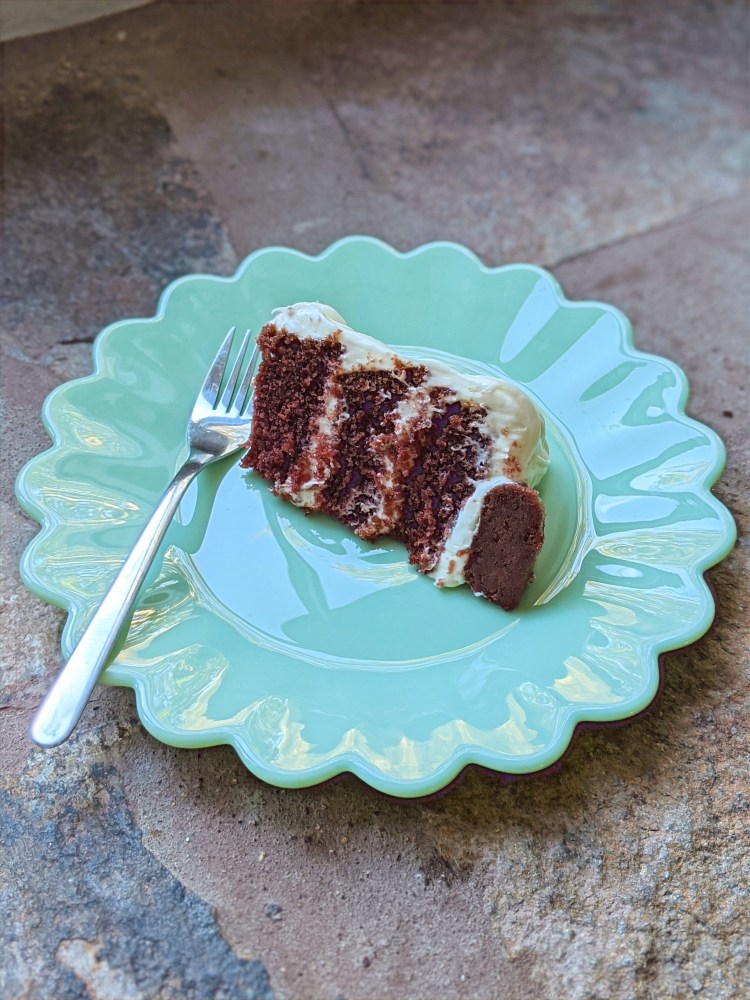
5. Continue stacking, frosting, and sprinkling cake crumbles until you have all of your cakes together on top of each other. Just don’t sprinkle crumbles on the very top.
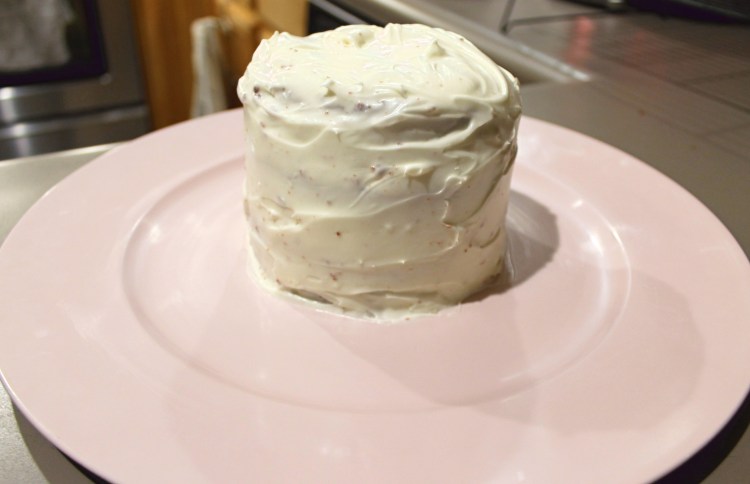
6. Put a huge dollop of cream cheese frosting on top of the cake and spread it out. Then spread it down the sides a little bit. Add more frosting to the sides and smooth it until the entire cake is frosted and smooth.
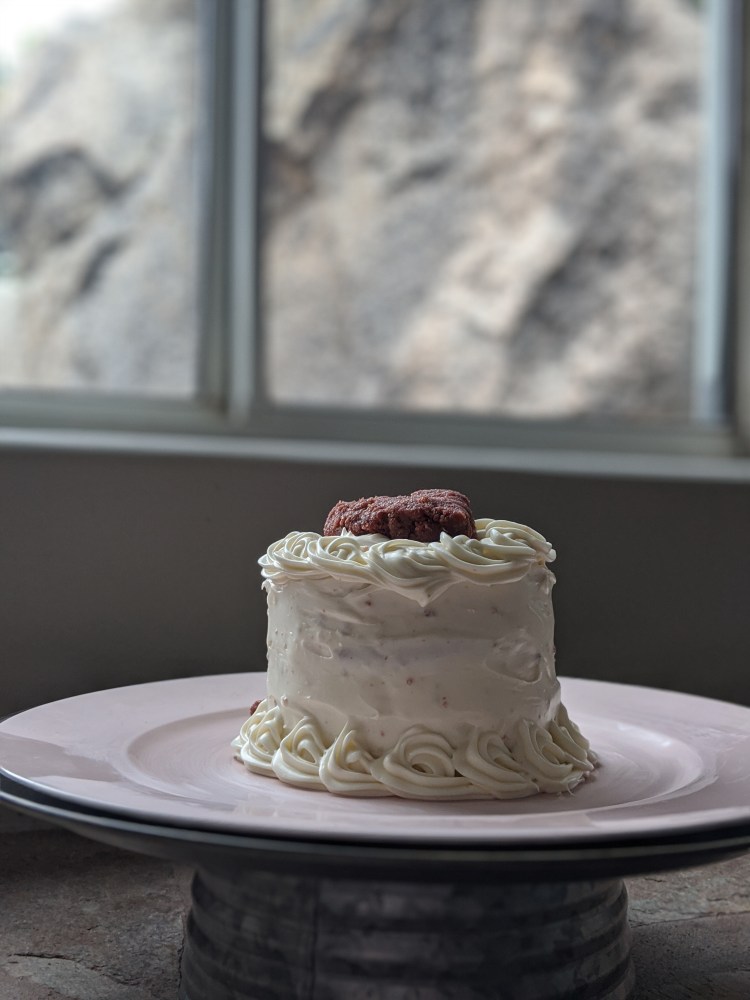
7. Mix some frosting into your bowl of cake crumbles to make a “cake pop” mix. Form some of it into a heart and place on the top of the cake.

8. I tried to dress it up a bit, so the last thing I did was pipe a little border around the top and bottom of the cake. Extra “cake pop” mix can be frozen and used at a later time if you want. Any extra frosting can be refrigerated for up to one week.